
Want to know to make apple juice? Here’s our simple guide to making apple juice at home. If you live in the local area, we run an apple pressing service where we can turn your apples into bottles of delicious apple juice that lasts for over a year!
Don’t waste your apples!
Anyone who has apple trees knows how heartbreaking it is to watch perfectly nutritious food rot on the grass in your garden.
In the past I tried to give my apples to schools and nursing homes, in the hope they would go to good use… but nobody would take them (depressingly they said it’s cheaper for them to buy ready peeled apple slices from abroad, than to peel and slice them on-site). I even struggled to give away my fruit to local pig farmers.
If you can’t find a home for your apples, the best thing you can do is to make juice, which can be pasteurised, frozen or made into cider. It’s the perfect way to use up lots of apples.
There are a few things you need to consider before you try to squeeze the good stuff out of your apples. With that in mind, here’s my how to make apple juice guide. Sounds simple enough, but there are a few things to consider if you want to end up with top-notch juice.
1) Pick the apples
You need to be selective when picking the apples. Discard any fruit that has rot or heavy bruises as this will taint the juice. If you wouldn’t eat it, don’t put it in.
2) Wash the apples
Fruit needs to be washed before pressing. There can be dust, insects, chemicals/pesticides and various yeasts and bacteria lingering on the apples, so it’s best to play it safe. In the winter months, for late ripening apples, there’s quite often mud on them (if you’re picking up windfalls).
3) Chop the apples
This is the part that most people don’t consider when creating apple juice. Your apples need to be crushed or chopped into small pieces before they can be put into the apple press. You can’t press whole apples… or at least if you tried, you wouldn’t get a high yield of juice.
We use an electric mill, which chops the apples into a pulp in a matter of minutes.
You can also chop the apples by hand, which is a slow and labourious task – but is fine if you’re doing small batches. Alternatively, a food processor would work effectively in small batches.
4) Press the apples
You’ll need an apple press to finally press the apple pulp into juice.
There are many different types available, from traditional screw down presses, to hydraulic presses and hydropresses.
With the first two types, you may need to wrap your pulp in ‘cloths’ such as muslin, which will act as a strainer when pressure is applied to the ‘apple cake’ or pulp.
We use a hydropress, which inflates a balloon inside the press and pushes the apple pulp out towards a mesh. The juice passes through a cloth and pours into a bucket.
Traditional hand presses are quite hard work, and produce a lower yield than traditional presses. But, they are great fun when pressing smaller batches. It’s a brilliant family activity on a sunny autumn day!
Keeping your juice fresh
Once you’ve pressed your juice, it will last around three days in the fridge. You can also freeze it to make it last a few months.
If you’d like to make cider, check out our How to Make Cider at Home page.
Alternatively, you can pasteurise your juice. To do this, you need to heat your juice, inside the bottles, to 75 degrees, and hold it at that temperature for 25 minutes. Find out more on our services page.
If we’ve forgotten anything important in our How to make apple juice guide, please let us know and we’ll add it to the article. Enjoy your amazing juice.
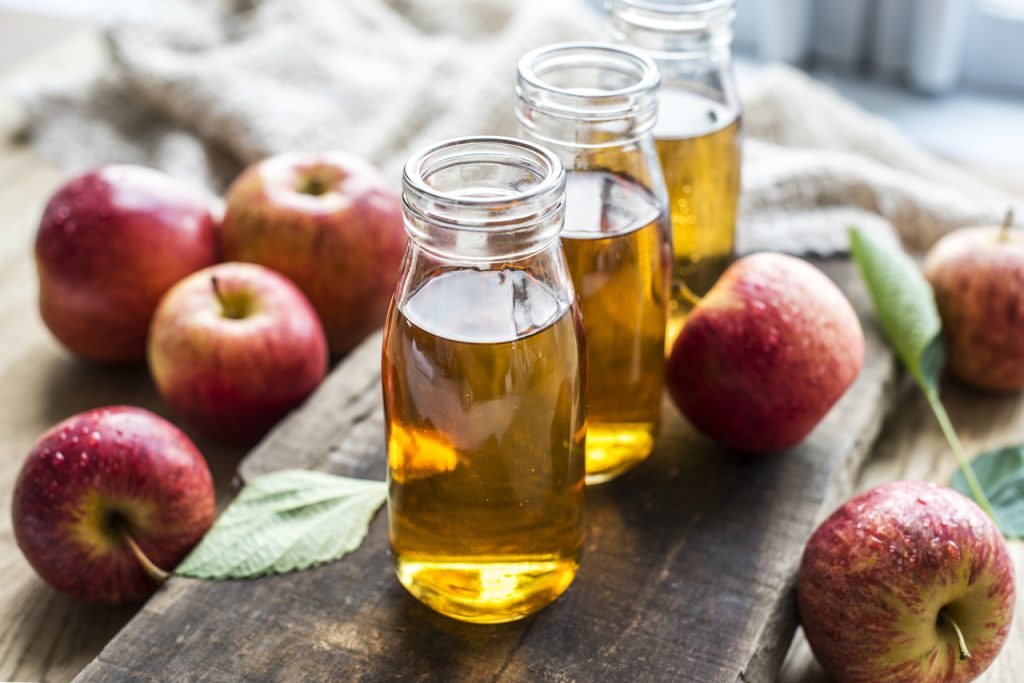
Featured image: Photo by rawpixel.com form PxHere